 If your favorite handbag is in need of a little pizzazz, up the style ante with a sweet sew-on patch! It’s a super easy way to breathe new life into bags, jackets, hats, hoodies, or any other fabric thing you can think of! Read on to learn the easiest, best way to affix your favorite patch with supreme sturdiness!
- A patch
- Something to sew the patch to. We chose our awesome hemp shoulder bag!
- a needle
- thread, cut to a length of about 2 feet.
Step 1:
The first thing you will want to do is thread your needle. It can take some time to get the thread through that tiny hole, but one thing that really helps is cutting your thread with some sharp scissors, so you are threading a clean cut piece of thread through the needle. Cutting the thread at a 45 degree angle helps too!
Step 2:
Once you have threaded the needle, pull the the thread through so the needle is right in the middle of the thread, with two even “tails” coming out of either end. Knot those tails at their loose ends a couple of times. Doubling up the thread like this makes it extra strong, so your patch will have extreme staying power!
Step 3:
 Start by piercing the outside of the object you are sewing the patch to, pushing the needle through and pulling it out on the same side. This way, the knot that holds your patch in place will be hidden under the patch!
Step 4:
 Next, bring the threaded needle up through the patch and then out through the side. You will have to play with putting the needle at an angle to do this. We chose to do this because our thread was white to match the inside of our bag, but we didn’t want the stitching to show on the patch. If you are using thread that matches the color of your patch, you can just sew with easier straight up-and-down stitches, rather than at an angle.
Once you have done this, pull your stitches tight and then put your needle through the top of the fabric and back out. You will be ready to come at the patch again from underneath it. Repeat this stitch all the way around, until you arrive back at the point where you started.
Step 5:
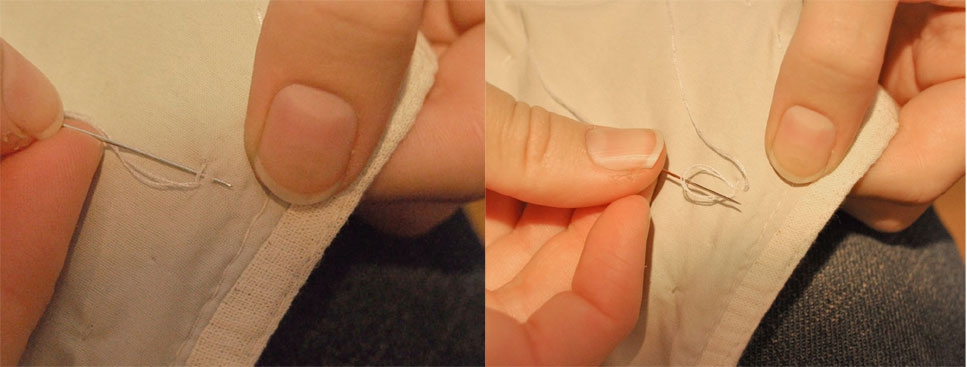
 End your stitching so the needle comes out on the back side of the fabric (the opposite side of where the patch is now attached). Make a new stitch perpendicularly through one of your final stitches, picking up a bit of fabric as you go. This will make a loop, which you will then put your needle through, pulling it tight. Repeat this two times for a super-sturdy knot, and then snip the tails with a pair of scissors.
 You just sewed on a patch! Hoorah! Now put patches on everything!!
The post Mexicali Sewing DIY: How to Sew On a Patch appeared first on Mexicali Blues Blog.


